I originally saw the Dandelion shirts on Pinterest. Following the directions, I made one for my eldest and my niece. The shirts turned out really cute but everyone though the fly-aways looked like butterflies of dragon flies, so I revamped my methods. Here's how I made my following shirts step-by-step.
Step One: Paint the stem. I've been using Tulip Soft fabric paint.
Step Two: Draw the "Fly-away" seeds. I used a fabric pen by Zig and used an upwards flicking motion . You need to iron over the ink to set. It is best to iron before painting further (I did forget to do this, while the shirt wasn't damaged, the Tulip paint did stick to the iron) You can interchange the first two steps but I found drawing the stem helped with placement.
Step Three: Paint the flower head. I spread a mix of white and silver glitter fabric paints into a thin layer to dip the bath puff in. I made multiple pounces until I got the flower head as big and as dark as I wanted. I found spreading the paint allowed me to pick up a little layer of paint that I layered until I was happy with it.
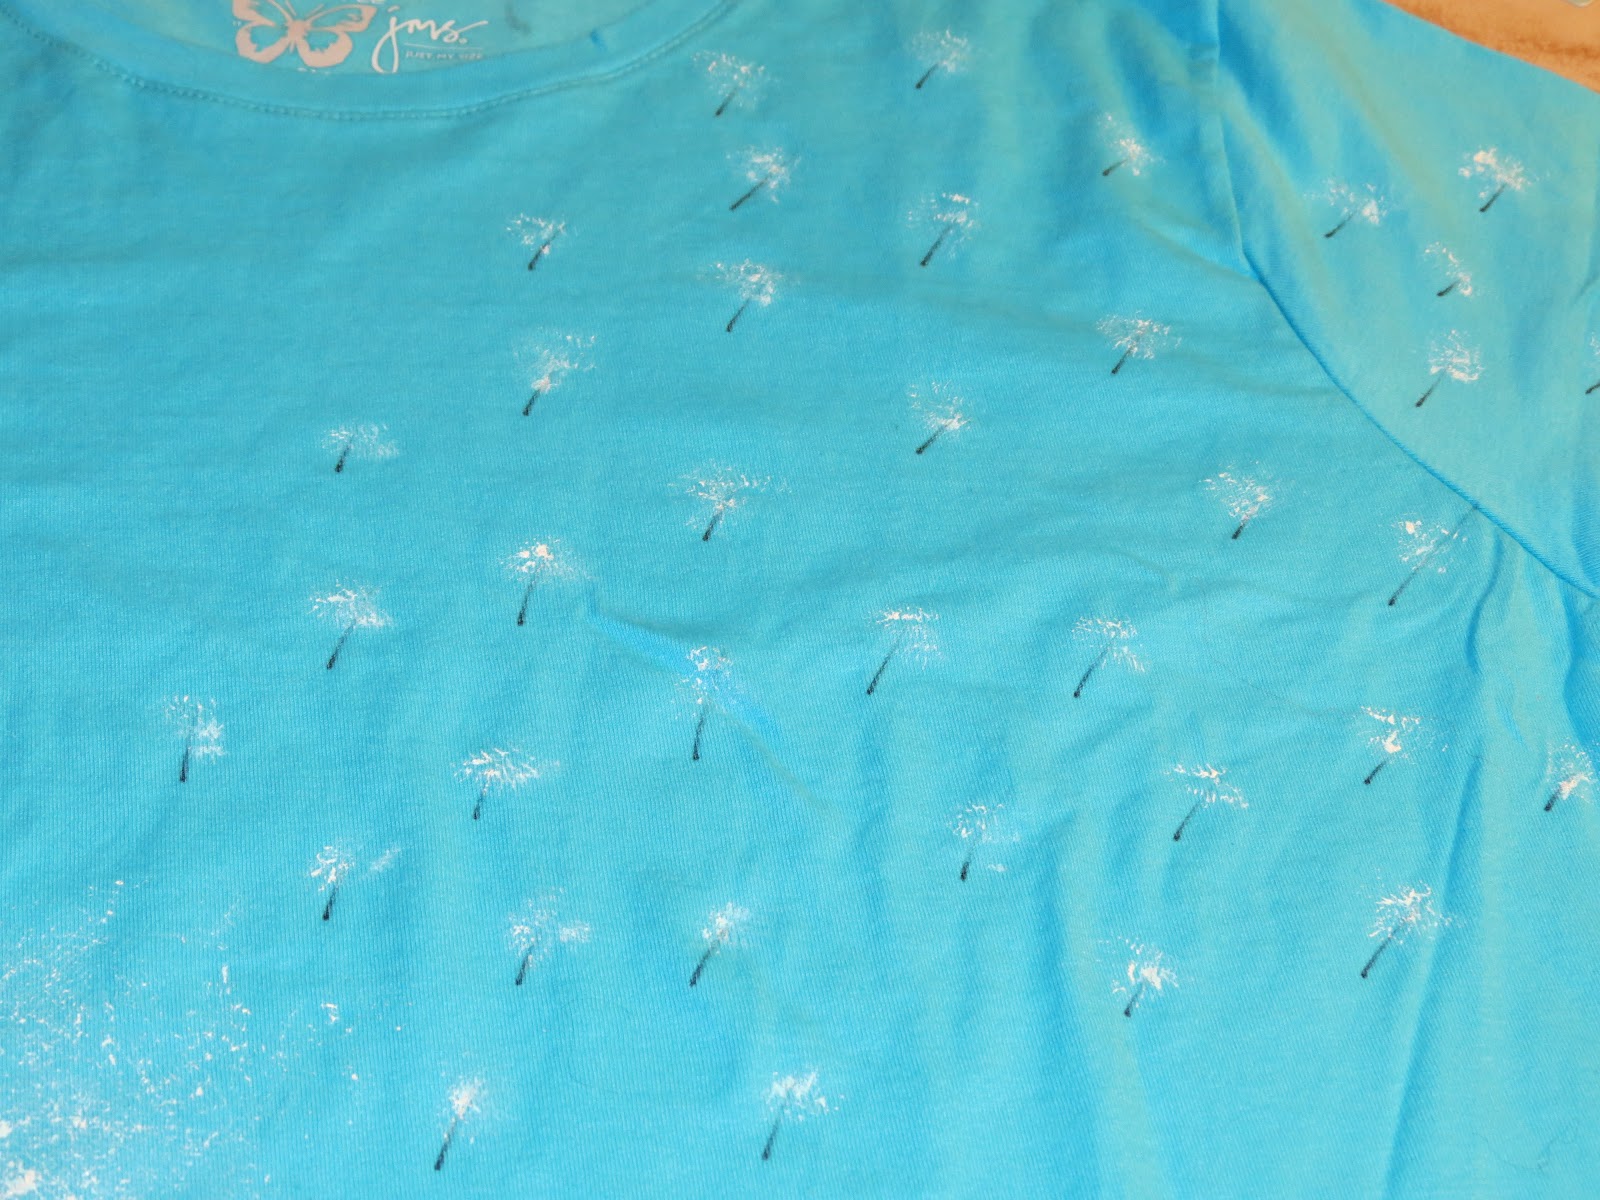
Step Four: Painting the fly-aways. I cut a small piece of netting off my bath puff and scrunched it up to paint he fly-aways. A couple of dabs on scratch foil was needed to get the right balance of netting. Like the flower head a couple of layered passes were needed in some spots. I left some fly-aways lighter and some darker and defined to give depth, though the picture is hard to tell.
Optional Step Five: Add Iron on gems to flower head and/or seeds. I don't have a picture of this but did add gems to another shirt. I used and Imaginisce I-rock tool.
The Most Important Final Step:Wear and Enjoy


No comments:
Post a Comment